1. Structure and main purpose of each part
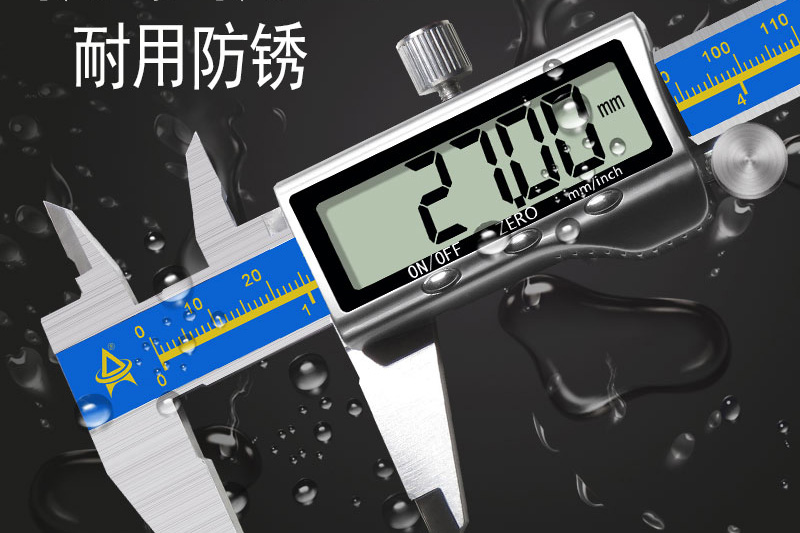
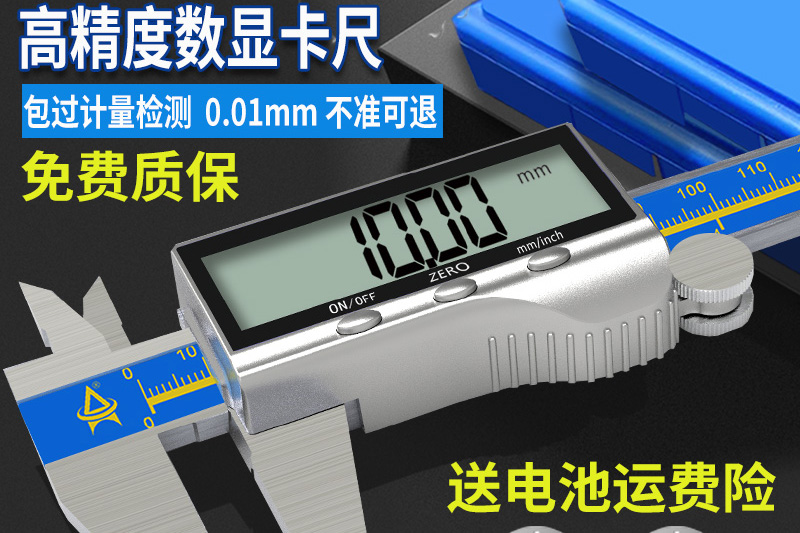
The vernier caliper is mainly composed of two parts, namely the main ruler and the vernier ruler. The names and main purposes of the specific parts are:
①Main ruler: used to read the number of whole millimeters corresponding to the scale line of the vernier ruler;
②Vernier ruler: used to read the number of graduations on the vernier ruler aligned with a certain scale line on the main ruler;
③Inner measuring claw: used to measure inner diameter;
④External measuring claw: used to measure the outer diameter;
⑤ Depth gauge: used to measure depth;
⑥ Fastening nut: used to fix the vernier scale

2. Principle
(1) The accuracy of the vernier caliper:
Why is the vernier caliper measuring accuracy up to 0.1 mm, even up to 0.05 mm, 0.02 mm? It turns out that the vernier caliper cleverly uses the difference between the minimum scale of the vernier and the main ruler. If the 9mm on the main ruler is divided into 10 parts as the vernier scale, then each scale on the vernier ruler will be the same as every tick on the main ruler. The difference in length represented by the degree is 0.1 mm. Similarly, if the 19 mm and 49 mm on the main ruler are divided into 20 parts and 50 parts respectively as the 20 graduations and 50 graduations on the vernier ruler, then every tick on the vernier ruler The difference between the degree and the length shown on each scale on the main ruler is respectively 0.05mm and 0.02 mm. Therefore, the measurement accuracy of the vernier caliper can reach 0.1 mm, 0.05 mm, and 0.02 mm.
(2) Principle of reading:
Take a 10-divided vernier caliper as an example. Since its accuracy is 0.1mm, when measuring the length of less than 1mm, which scale line on the vernier scale is aligned with a certain scale line on the main ruler, then the zero scale line on the main ruler is aligned with a certain scale line on the main ruler. The zero scale interval on the vernier ruler is a few tenths of a millimeter, and the measured length is a few tenths of a millimeter. As shown in Figure 1-2, the sixth scale line on the vernier is aligned with the scale on the main ruler, then the measured length When the measuring length is greater than 1mm, first read the zero scale line on the vernier ruler corresponding to the number of whole millimeters on the main ruler, and then read the number of graduations on the vernier that is aligned with the main ruler according to the above method, multiply this number After 0.1, add the two numbers together, the 8th scale line on the vernier scale is aligned with the scale on the main scale, so the measured length is 29+8×0.1=29.8 mm.
3. Matters needing attention
(1) Check the accuracy of the vernier caliper before measuring;
(2) When measuring, the measuring claw should be gently clamped to the measured object, do not clamp too tightly, then fix the vernier caliper with a tightening nut, and finally read;
(3) The line of the measured distance on the measuring object must be parallel to the main ruler.


